
🌐 GST Registration Process in India – Step-by-Step Guide (2025)
With the rollout of Goods and Services Tax (GST), businesses across India are now part of a unified indirect taxation system. Whether you’re a freelancer, trader, online seller, or service provider, GST registration is a legal requirement once your turnover crosses the prescribed limit. Here’s everything you need to know.
📌 Who Needs to Register for GST?
You are mandatorily required to register under GST if:
- Your turnover exceeds ₹40 lakh (₹20 lakh for services; ₹10 lakh in NE and hill states).
- You are engaged in interstate supply of goods/services.
- You are an e-commerce seller (e.g., Amazon, Flipkart).
- You are a casual taxable person or non-resident taxable person.
- You are required to pay tax under reverse charge.
🧾 Documents Required for GST Registration
Here’s a checklist based on your business type:
| Business Type | Documents Required |
|---|---|
| Proprietorship | PAN, Aadhaar, Photograph, Bank proof, Address proof of business |
| Partnership/LLP | PAN of firm, LLP deed, PAN & Aadhar of partners, photographs, address proof |
| Company (Pvt Ltd) | PAN of company, Certificate of Incorporation, MOA/AOA, PAN & Aadhar of directors |
| Common to all | Business address proof (rent agreement, EB bill), Bank proof (cancelled cheque) |
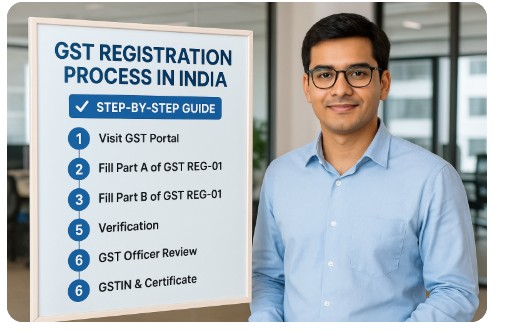
✅ Step-by-Step GST Registration Process (on www.gst.gov.in)
Step 1: Visit GST Portal
Go to https://www.gst.gov.in and click on ‘Register Now’ under the ‘Taxpayers’ section.
Step 2: Fill Part A of GST REG-01
- Select New Registration
- Enter:
- Legal Name (as per PAN)
- PAN
- Email ID and Mobile Number (for OTP verification)
- After OTP verification, you’ll get a Temporary Reference Number (TRN).
Step 3: Fill Part B of GST REG-01
Login using TRN → Enter captcha and OTP.
- Fill in:
- Business details (legal name, trade name)
- Promoter/Partners’ details
- Principal place of business
- Bank account details
- Authorized signatory
- Upload required documents.
Step 4: Verification
- Submit application using Digital Signature Certificate (DSC) / E-Signature (Aadhaar OTP).
- ARN (Application Reference Number) is generated.
Step 5: GST Officer Review
- If all documents are in order, registration is granted within 7 working days.
- If additional clarification is needed, you’ll receive a notice in Form GST REG-03.
Step 6: GSTIN & Certificate
- On approval, you receive a GSTIN (15-digit) and a Certificate of Registration (Form GST REG-06).
- You can download it from the portal.
📍Post-Registration Compliance
- Display GSTIN at the business premises.
- Start issuing GST-compliant invoices.
- File returns: GSTR-1, GSTR-3B, and others applicable.
- Maintain proper records for audit and compliance.
💡 Pro Tips
- Use the Aadhaar authentication for faster processing.
- Keep bank account and address proof updated.
- Regularly check email/SMS for notices from GST portal.
🚀 Conclusion
GST registration not only ensures legal compliance but also opens doors to new business opportunities and trust from clients. Stay proactive and consult a tax professional for smooth operations.